
Top-Rope Anchors Course: The IDEALS Acronym Every Climber Should Know
What Is the IDEALS Acronym for Top-Rope Anchors?
When it comes to building climbing anchors, safety is everything. Whether you're setting up a top-rope anchor on Squamish granite or building a multi-point system on a remote crag, the IDEALS acronym is your go-to checklist for ensuring every anchor you build is solid, redundant, and reliable. It's also the foundation of our top-rope anchors course in Squamish.
IDEALS stands for Integrity, Doubled, Equalized, Angles, Limited Extension, and Sharp Edges. Let's break each one down.

I - Integrity
Integrity refers to the quality and reliability of the materials you're working with. This includes the rock itself, trees, ice, cams, nuts, bolts - even your climbing partner. Before building any anchor, ask yourself: Are the individual components trustworthy? Is the rock solid or flaky? Is that tree alive and well-rooted? Is your cam placed in a solid, parallel-sided crack?
If the integrity of any single component is questionable, the entire anchor system is compromised. In our top-rope anchors course, we teach students to assess integrity before touching any gear.

D - Doubled
Redundancy is a cornerstone of anchor safety. Use multiple anchor points and make sure all potential failure points are doubled. If one piece fails, another should be ready to catch the load. This applies not just to the anchor points themselves, but to carabiners, slings, and every link in the chain.
A single bolt or a single cam is rarely sufficient on its own. Double up your protection so that no single failure can result in a catastrophic outcome.
E - Equalized
Once you have multiple anchor points, you need to distribute the load equally between them. If one point is taking 90% of the force while the other takes 10%, you essentially have a single-point anchor with a backup - not a truly equalized system.
Techniques like the sliding-X, quad anchor, or pre-equalized setups help ensure each point shares the load. Proper equalization means your anchor is working as a unified system, not a collection of independent pieces.
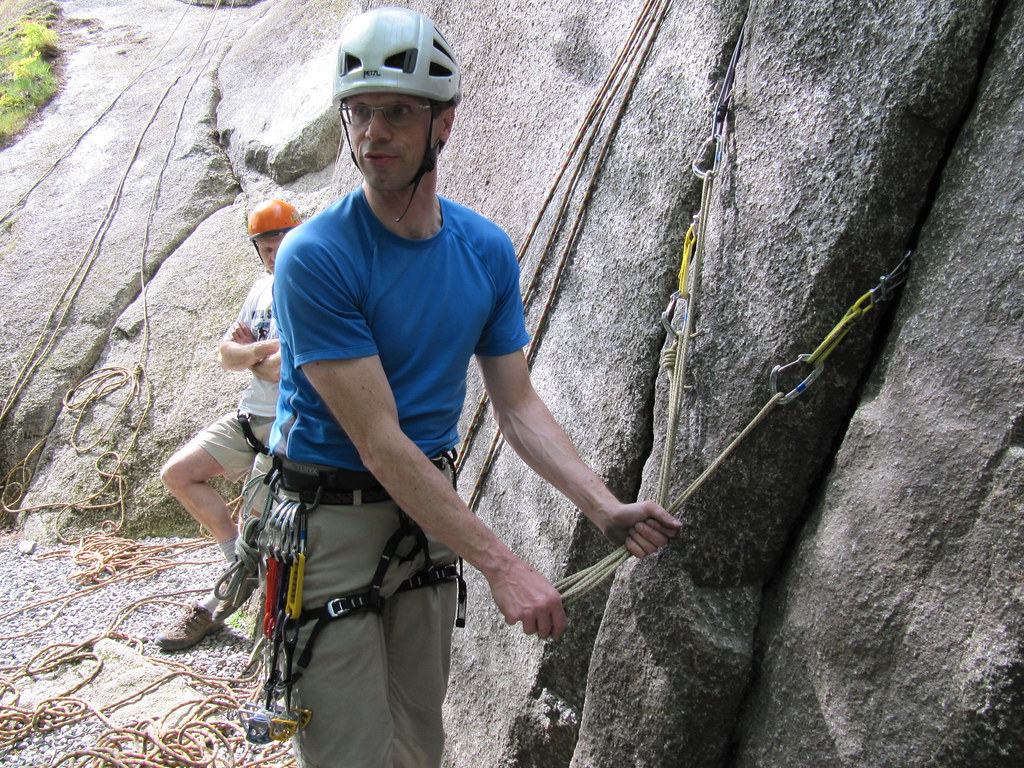
A - Angles
The angle between anchor arms matters - a lot. As the angle increases, the force on each individual anchor point increases dramatically due to vector forces. When a downward load is applied to an anchor with two arms, that force is split into two vectors - one along each arm. The wider the angle, the larger each vector becomes.
Keep the angle between your anchor arms below 90 degrees - and ideally much less. Here's why the math matters:
- 0° angle: Each arm carries just 50% of the total load - the ideal scenario.
- 60° angle: Each arm carries about 58% of the load - still very manageable.
- 90° angle: Each arm carries roughly 71% of the load - force is increasing fast.
- 120° angle: Each arm carries 100% of the total load - you've completely lost the benefit of two points.
- 150° angle: Each arm carries nearly 200% of the load - your gear is now under more force than the original load itself.
This happens because as the arms spread wider, more of each vector's force is directed outward (horizontally) rather than supporting the downward load. Your anchor points end up fighting against each other instead of sharing the weight. In our top-rope anchors course, we demonstrate this with real gear so students can see and feel how quickly forces multiply with wider angles.
The takeaway: always check your angles. A narrow V-shape is strong. A wide V is a recipe for overloaded gear and anchor failure.
L - Limited Extension
If one anchor point fails, there should be minimal movement in the system. A sudden drop or shift - known as extension - can shock-load the remaining anchor points and potentially cause a cascading failure.
Tying limiting knots in a sliding-X, using a pre-equalized anchor, or choosing static equalization methods are all ways to keep extension to a minimum. The goal is that if something goes wrong, the system absorbs it gracefully.
S - Sharp Edges
Squamish granite is beautiful, but it can be rough on your gear. Always watch for sharp edges where your slings, cord, or rope might be running over rock. A loaded sling rubbing against a sharp granite edge can be cut surprisingly quickly.
Inspect your anchor setup for any points where equipment contacts rock edges, and pad them if necessary. A simple edge protector or repositioning your anchor can prevent gear failure.
IDEAL or Not IDEAL: A Game for Learning Anchor Building
To help our students internalize these principles, we created the "IDEAL or Not IDEAL" game. Students in our top-rope anchors course are shown photos of various climbing anchors and have to determine whether each one meets the IDEALS criteria - or falls short.
It's an engaging way to develop the critical eye needed for real-world anchor assessment. By analyzing anchors in a low-pressure setting, students build the judgment skills they'll rely on at the crag.
Take Our Top-Rope Anchors Course in Squamish
Want to master these skills hands-on? Our top-rope anchors course covers everything from the IDEALS framework to building and evaluating real anchors on Squamish granite. Led by certified guides, this full-day course gives you the knowledge and practice to set up your own top-rope sessions independently.
Whether you're transitioning from the gym to the outdoors or looking to level up your existing skills, understanding IDEALS is the foundation of safe, independent climbing. Book your top-rope anchors course today.